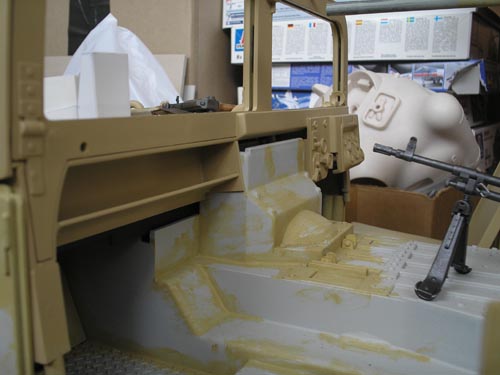
The first thing I did was to strip the intire car. If you are planning
do to that I suggest you make some kind of plan. I made a little book where I described how I stripped it. I wrote
down what kind of screw to put where etc. I gave all screws numbers so they can't get lost and I will be able to put it together
without any problems (I hope).
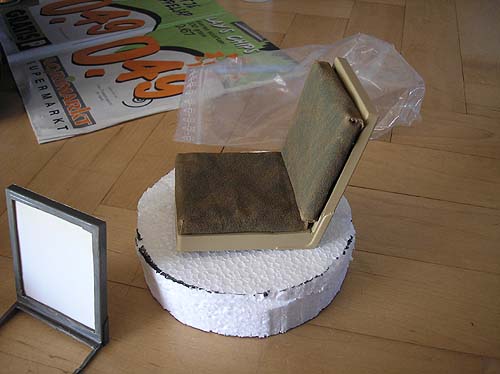
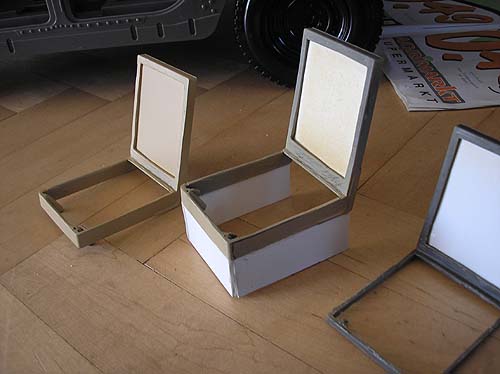
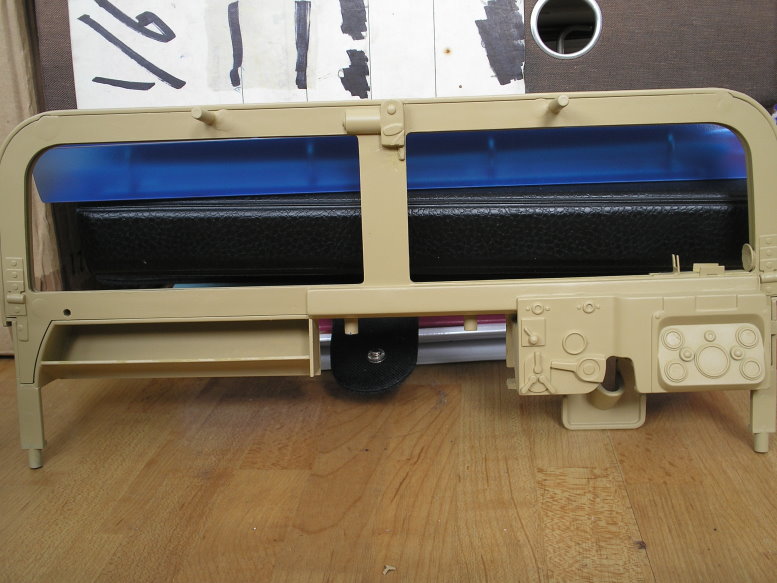
After that I started on the seats, there are four seats, they can
easily be removed by removing three screws. I didn't like the molded on seatings so the first step was to cut them off. After
that, alot of sanding to make them all smooth. I gave every seat a number.
Number 1 is the drivers seat, and the driver sits on the right
in the vehicle. You rembered I was referring to a SAS jeep? Jup steering had to be on the right. I also cut alot off the bottom
to make the seat lower, this way the figure fits better.
Number 2 is the seat of the bloke who sits left of the driver.
His main job is to help to navigate and operating the radio.
Number 3 is the seat stationed behind number 2, the
soldier also mounts the .50 on the top of the jeep.
And number 4 is for the guy who shoots badguys that are following
them. His seat will be placed in the back and turned 180 degrees. I raised the seat with 3 cm so the figure will fitt nicely.
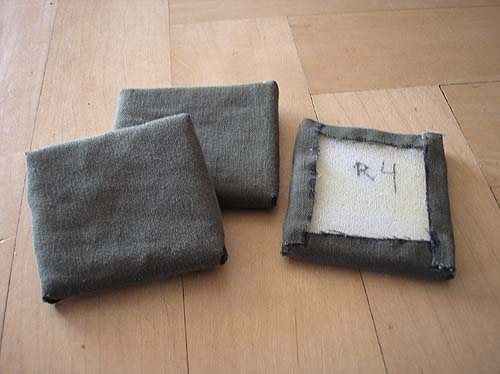
Now the seatings. I made them out off old foam, some green cloth
and alot off superglue. I cut the foam in shape and put the cloth on it, than I glued the edges onto the foam and voila, ready
is freddy.
Every seat has a back plate and will be painted Tamiya
Light Sand TS-46.